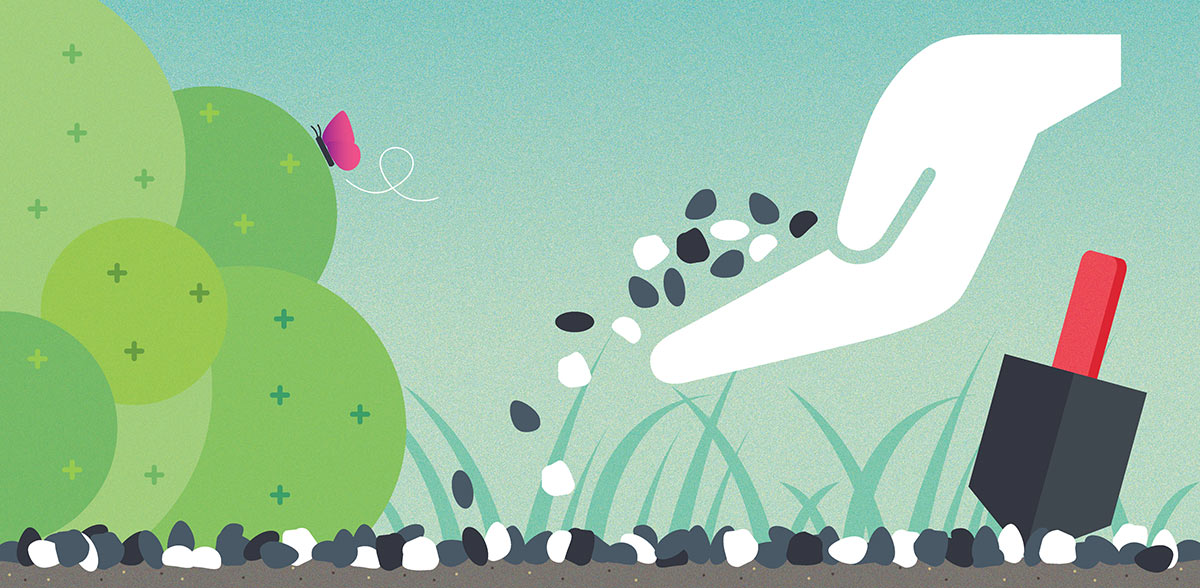
HOW TO ENHANCE YOUR GARDEN WITH GRAVEL: A DETAILED GUIDE
Gardeners face countless problems and challenges:
- Hosepipe bans that prevent them from sufficiently watering their plants
- Pesky weeds that turn their beds into a weedy mess
- On-going and often tedious maintenance work (that lawn!)
And all the while, they have to keep their gardens aesthetically appealing and accessible.
If these gardening challenges make you pull your hairs out, don’t fret.
This detailed guide will show you how to overcome hosepipe bans and less-than-ideal growing conditions, tame those wild weeds, and keep your garden low-maintenance while enhancing its appeal.
The secret ingredient? Gravel!

1. GRAVEL 101
Gravels are rock fragments 4 to 64mm in size. The fast-moving river water, weather and erosion of large boulders result in the formation of these pebbles. The rushing waves then pile up gravel particles in large heaps, leading to the formation of sedimentary rock called conglomerate.
Not all places have natural gravel buildup, however. And in those areas where river-run gravel deposits are hard to come by, gravel is produced by crushing many types of hard-wearing rocks to meet a variety of needs.
Gravel is an important product. Around the world, you’ll find more roads paved with gravel than with concrete. In this guide, however, we’ll look at how to use gravel – both natural and man-made – to enhance the look and functionality of your garden.
Let’s start with the unbeatable benefits and reasons why you should use gravel in your garden.

2. AWESOME BENEFITS OF USING GRAVEL IN THE GARDEN

Source: https://www.flickr.com/photos/nihonbunka/13986225
Using gravel in the garden design and landscaping is not a new idea. Gardens during the 1970s used gravel as a solution against drought. However, the pebbles recently experienced a rise in popularity for reasons like the following:
- Durable With An Organic Feel: Want a paving material that looks and feels natural but sturdy enough to cover driveways, paths, and other areas in your garden? Gravel fits the bill. True, it’s not as hard as other paving materials. But, bricks and pavers can only envy gravel’s earthly texture and crunchy sound underfoot.
- Climate-Friendly Wherever You Are: Are you living in an arid, drought-prone area? If so, gravel is an excellent choice for covering patches of soil that won’t be planted or irrigated. Gardeners in wetter regions, on the other hand, appreciate gravel’s quick drainage – making sure those beloved garden plants won’t drown in a messy puddle.
- Extremely Flexible: Whether you’re looking to cover high traffic areas in your garden, add visual appeal to dull areas, or create an appealing divider for your flowerbeds, you’ll find that there’s a type of gravel that best suits your needs. Not to mention it conforms to just about any shape and looks great outside contemporary structures and old-style homes.
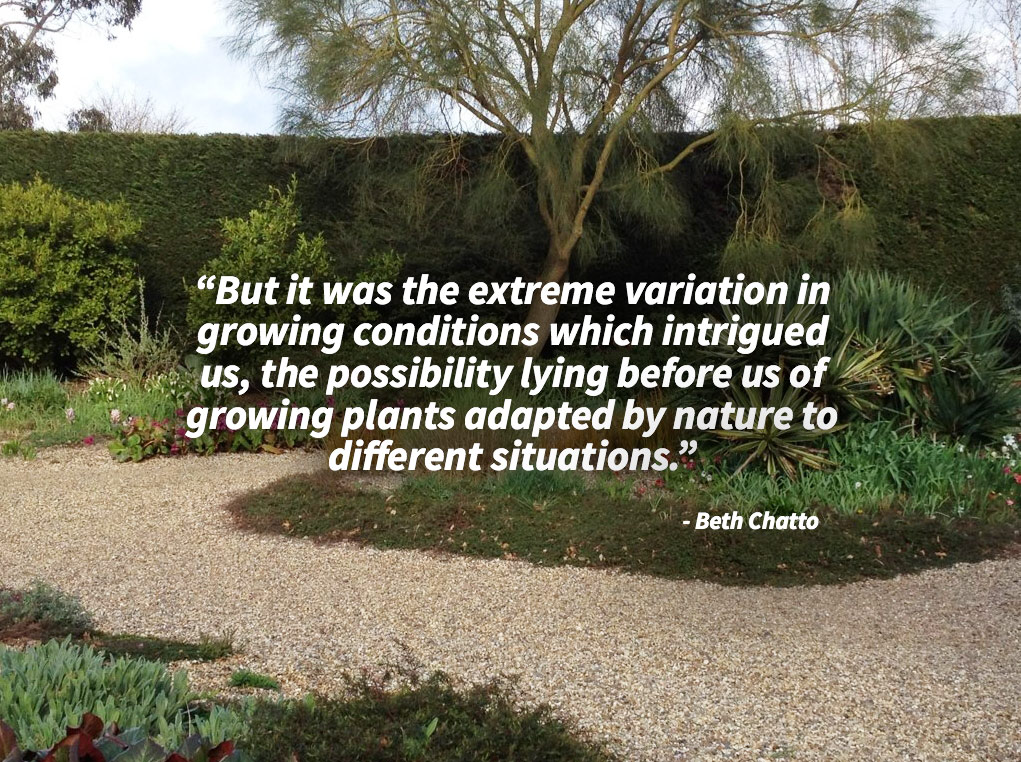
- Low Maintenance And Sustainable: More and more gardeners and landscape architects are jumping into the gravel gardening bandwagon. And why not!? With careful planning and the right plant choices, a gravel garden can thrive minus the frequent watering and tedious maintenance. In a later section, we will look at such a garden built by plantswoman Beth Chatto during 1992. And just in case you’re wondering, Beth Chatto’s garden hasn’t been irrigated since its creation!
- Affordable: Gravel is also a cost-effective material for pavements and paths, especially if you use locally sourced gravel instead of the more expensive, imported ones. You can easily find local gravel suppliers that can provide you with as much gravel as you need – and at a price your budget will love!
3. BETH CHATTO’S GARDENS: THE LIVING PROOF OF GRAVEL’S SUSTAINABILITY
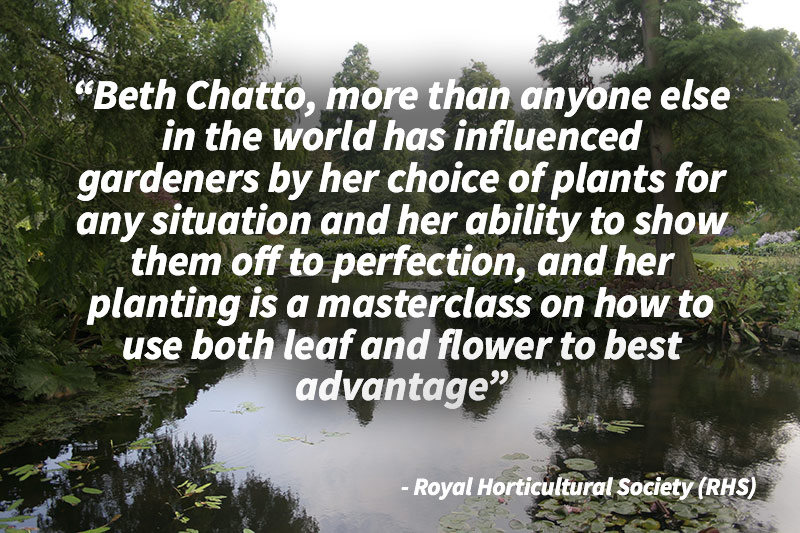
Beth Chatto is the British plantswoman and garden designer behind the Beth Chatto Gardens, an informal collection of ecological gardens built in the 1960s.
Located at the White Barn House of Elmstead Market, the site where the gardens now reside was once a wasteland, full of gravel soil and bogs from the abandoned fruit farm of her late husband, Andrew Chatto.
The original site was a wilderness that had (and still has) 3 contrasting ecologies: an area full of sand and sun-baked gravel, a spring-fed hollow based on clay, and elsewhere lies black, waterlogged soil. And to make matters worse, it sits in one of the driest parts of the UK.
The place, in its earliest days, was full of blackthorn, willow, bramble, and ancient boundary oaks – an unattractive sight for sure!
Despite the seemingly insurmountable gardening crisis, Beth Chatto came up with a brilliant idea:
She designed her garden and developed 3 contrasting types of planting to match the 3 very different ecologies around her modest home.
She stayed true to her philosophy of “the right plant in the right place” borne out of her late husband’s life-long research into the natural associations of plants.
Today, the Beth Chatto Gardens is full of plants, life, and colour stretching many acres: five large ponds, patches of woodland, and myriads of attractions rich in ideas and inspiration for all gardeners.
In this section, however, the spotlight shifts to the gravel garden Beth created in 1992. The garden used to be the car parking lot and had an unpromising start like the other gardens in the collection.
And then there are Colchester’s North Sea winds and scorching heat while the region gets a meager 50.8cm of rain on average. It’s impossible to fight against these conditions, so Beth and her husband Andrew embraced it instead!
The couple picked plants from regions with the same climate. The ¾ acre of sand and gravel was improved with the addition of home-made compost, making sure the plants get a good start.
All of these make sense, but Beth also imposed one strict condition: no watering for the gravel garden!
Less than ideal growing conditions, scorching heat, and no watering!? It sounds like a recipe for disaster.
But look at the gravel garden today. It’s full of tall soft grasses, yuccas, sea holly, Agastache, Agapanthus, Euphorbia x martini, and other sun-loving, drought-tolerant plants.
The plants are undoubtedly aided by the layer of gravel, allowing rainwater to drain easily into the soil while protecting the ground from the harsh heat. The gravel layer also prevents evaporation and keeps the roots safe and cool – even during sizzling summer months.
In this day and age of endless debates about global warming and hosepipe bans, Beth Chatto’s gravel garden shows that, with the right plants and a good layer of gravel, gardeners have nothing to fear!
Did that inspire you to create your own gravel garden, or maybe explore the uses of gravel to enhance your garden’s look and sustainability?
Check out the next section where we take a look at the different types of gravel, and how to pick the right one for your project.

4. CHOOSING THE RIGHT TYPE OF GRAVEL: IMPORTANT CONSIDERATIONS
Not all gravel products are created equal. They differ in size, texture, and best uses. Some work great as walking surfaces while other varieties best serve decorative purposes.
To give you a better idea of which gravel product best suits a project, let’s take a look at the different types of gravel and other important considerations.
Man-Made Crushed Gravel
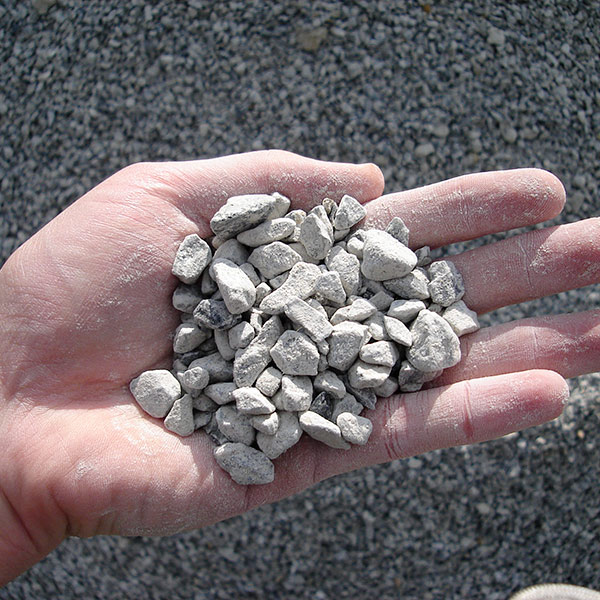
This type of gravel is crushed from massive rocks in a quarry as the name suggests. The crushed bits are then fed into a sieve, filtering bits and pieces of the same size.
The crushing process results in sharp edges. Not comfortable for walking barefoot, but necessary to keep the particles in place when pressed against the ground.
This stabilising feature of man-made gravel makes it an excellent choice for gentle slopes and high-traffic areas in the garden (e.g. driveways and walkways).
Construction and landscaping companies developed countless varieties of gravel through the years, with each variety having its share of PROs and CONs. Let’s take a look at three of these types:
- Loose: A favorite by countless garden designers and for good reasons: it’s affordable, easily available, and looks great wherever you put it. However, loose gravel is a poor choice for paving steep slopes as the particles are easily moved compared to other types of man-made gravel shown below.
- Self-Binding: With clay particles mixed in, self-binding gravel boasts better stability than the average, loose variety. They are spread over a hardcore base and pressed against the ground using a heavy roller. Water is hosed onto the gravels while being rolled over, bringing the clay particles to the surface and sealing the top. The result is a pavement that can take a beating from heavy foot traffic, bikes, and wheelchairs.
- Resin-Bonded: This type of gravel is rising in popularity thanks to its unparalleled stability. The clear resin keeps it completely immovable. You can lay it on steep slopes, drive over it, or clean it with a power washer – and it won’t budge! The downside with resin-bonded gravel, however, is the absence of the relaxed and organic feel of loose gravel. Not to mention it has a significantly higher price tag than other varieties.
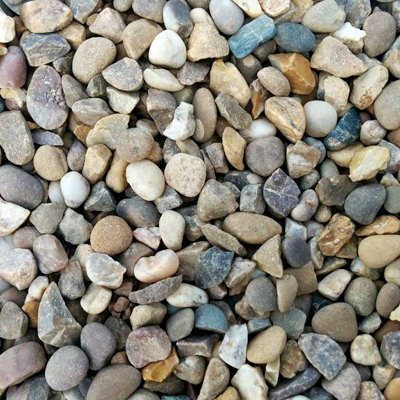
River-Run Gravel
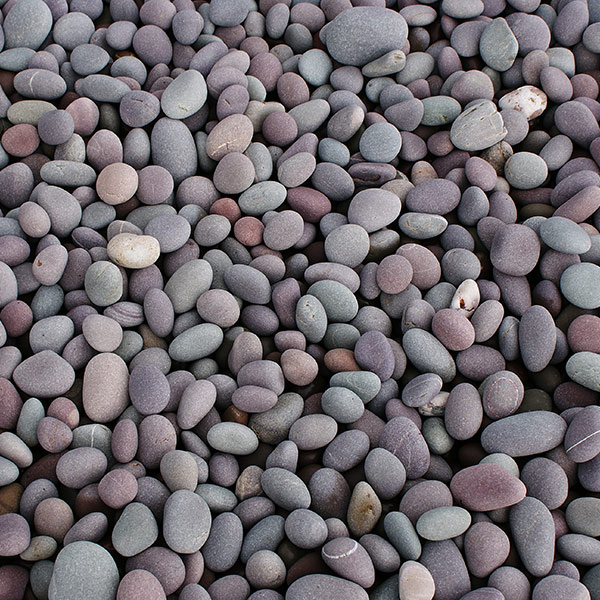
This gravel product also requires sieving like its man-made counterpart, but that’s where the similarities end.
Also known as natural pebbles, river-run gravels are formed through the years by fast-moving river water. The result is a rounded appearance that lacks the sharp edges (and the stability) of crushed gravel.
The rounded shape and smooth texture of natural pebbles allow the particles to travel, making it an unsuitable choice for high-traffic areas and slopes.
On the upside, however, river-run gravels have more presence than the man-made and crushed variety, a great choice for adding visual appeal to low-traffic areas in your garden.
Cobbles
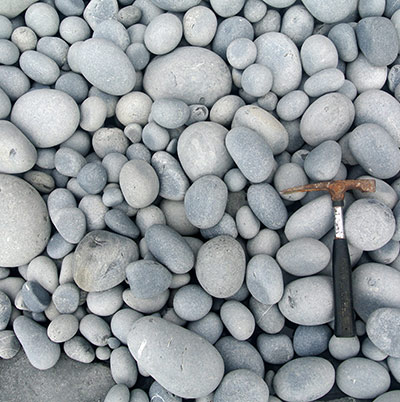
These stones are still gravel technically speaking and are either crushed or river-run. However, cobbles are much bigger than the usual gravel, with its particle size ranging from 6.4cm to 25.6cm.
Cobbles alone are extremely uncomfortable as walking surfaces due to their size, but they work great for adding natural textures and timeless elegance to dull and colourless patches in your garden.
These large stones make for an appealing divider between fields of smaller gravels with different colours and textures, a border for your garden’s flower beds, and an edging for fishponds.
Garden designers also use cobbles for better irrigation as their large sizes allow rainwater to pass through them and soak away into the ground to nourish plants and flowers.
But be warned: clusters of cobbles are vulnerable to organic matter buildup due to the spacious pockets between the stones. The organic matter will eventually decompose into humus, which pesky weeds love.
Other Important Considerations
Colour
You’re easily forgiven if you thought gravels are all grey in colour. Almost every gravel product came from crushed grey granite back in the day.
Crushed grey granite offers a lot of utility for construction projects, often used as an aggregate to bind concrete. For brightening up and styling your garden, however, grey isn’t the sexiest colour.
Fortunately, local suppliers like GrabCo. have gravel products in different colours to suit your style.
You can have a sparkly white gravel field in your garden. But you better think twice as white often produces glare.
Black is a good colour for adding a dramatic feel to your outdoor space.
Be careful, however, as black gravel will show even the most insignificant speck of litter and organic matter, requiring frequent cleaning and maintenance to retain its original appeal.
Earth tones work best for landscaping and garden design as they can easily blend with other elements like pavements, stonework, plants, and more.
You can even use gravels with varying hues to keep your garden rich in colour – even if your plantings are minimal.
In closing, here’s a common sense piece of advice to take with you when you shop for gravel: choose a colour that complements the overall theme and existing features of your garden and you’re golden!
Thickness
How thick of a layer should you lay? The answer depends on the application.
If you’re replacing a lawn, the gravel layer must be thick enough to cover the entire area (about 5.08cm to 7.62cm) to avoid ugly bald spots, which often lead to weed growth.
If you want to cover a high-traffic area such as a driveway, you need a significantly thicker layer (than that of a lawn replacement)as the area will be under constant vehicular pressure.
You also need to take the size of the gravel particles into consideration. A good rule of thumb to follow is to set a layer of gravel that’s at least twice as thick as the size of the particles you’re using.
If you’re using gravels that are about 10mm in size, the layer must be at least 20mm thick to ensure stability while minimising the possibility of balding.
You can increase the layer’s thickness up to 3 times the size of the gravel (30mm thick for 10mm gravels) for good measure, but going over that often leads to instability.
Application
Different applications require different types of gravel. You’ve already seen the most common types of gravel and their appropriate uses, but let’s review them to make sure you didn’t miss anything:
- For high traffic areas like driveways and paths, man-made crushed gravel – with its sharp edges that provide anchorage – is your best bet.
- For low traffic areas and decorative purposes, river-run gravel is an attractive choice as it has more presence thanks to its shape and texture.
- For separating fields of smaller gravels or adding borders, cobbles are the go-to option because of their larger-than-average size.
Need help in choosing the right type of gravel for your project or garden design idea? Give us a call! Grabco. stocks gravels of different types, sizes, and colours – and with our Essex grab hire service, we'll be at your door in no time at all!

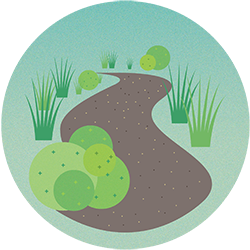
5. USING GRAVEL IN THE GARDEN
Let’s have a quick recap of what you’ve just learned:
You’ve seen how British plantswoman and garden designer Beth Chatto created a charming gravel garden in one of the hottest regions in the country without irrigation through careful plant selection, the addition of home-made compost before planting, and topping the soil with a generous layer of gravel mulch.
Following that, we looked into the different types of gravel: man-made and crushed gravel (plus its most popular varieties), natural pebbles, and cobbles – along with the best uses for each gravel product.
Now it’s time to get into specifics!
In this section, you’ll discover how to:
- Create a low-maintenance gravel garden
- Construct a sturdy and comfortable gravel path
- Plus other gorgeous garden design and landscaping ideas
Enough introduction, let’s get to the steps.
How To Create Your Own Easy-To-Maintain Gravel Garden In 6 Steps
Recreating Beth Chatto’s self-sustaining and low maintenance gravel garden is no easy feat. It requires a keen eye for good design and colour combinations, thorough understanding of natural plant associations, and years of gardening and landscaping experience.
Nevertheless, you can create a gravel garden you can call your own – and this mini-guide shows you how it’s done in 6 steps.

Step 1. Map Out The Perimeter And Clear The Area
Start by measuring the space where you plan to build your gravel garden. Plotting the garden on a piece of graphing paper is always recommended as it gives you a good and accurate overview of the area.
As you draw the perimeter on paper, take note of the plants you want to keep and other elements you'd like to add such as fountains, benches, and decorative stones.
Next, clear the area. Remove all of the existing plants from the perimeter, and temporarily store the plants you want to keep in large containers.
Step 2. Give Your Plants A Great Start By Preparing The Soil
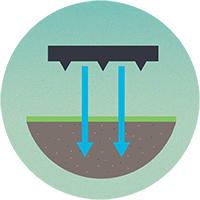
With the plants out of the way, it’s time to prepare the soil. Dig over the area (5.08cm to 7.62cm deep) to soften hard spots on the ground and allow air to penetrate.
You should also take the time to improve the soil’s quality by adding compost or fertiliser – just like what Beth Chatto did to give her plants the best possible start.
Alternatively, visit Grabco, who offer topsoil in Essex and improve your soil even further!
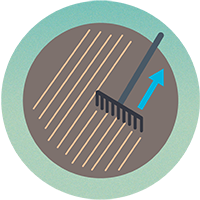
After digging and adding compost, rake the perimeter to even it out, so there are no lumps on the ground when laying down gravel.

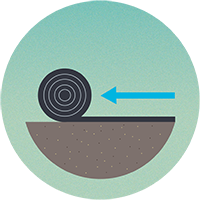
Step 3. Keep Weeds At Bay By Applying An Underlayer
Use a weed suppressant membrane to cover the soil – and not plastic sheets!
Sure, black plastic sheets are cheaper than a weed-suppressing barrier. But plastic sheets also prevent air and water from reaching the soil, creating an anaerobic environment that’s lethal for plants.
Worse, it’s only a matter of time before the plastic sheets break down, allowing annoying weeds to grow through the cracks.
A weed suppressant membrane is a woven fabric (often black in colour), and it’s a far superior underlayer for many reasons. It stops sunlight from reaching weeds underneath the gravel layer but allows air and rainwater to reach the roots of plants.
Step 4. Add Edging To Stop Gravel From Scattering
This step is necessary to keep the bits and pieces of gravel in place. Monoblock strips make for good edging material especially for lawns and planting areas. They’re reliable yet small enough to get a good curve.
Lay the monoblock strips just above the level of gravel, so the pebbles don’t get kicked or shoved into places you don’t want them to be.

Step 5. Add Your Plant Within The Perimeter
Start by planning where you want to put your plants. You want to arrange the plants like little islands, giving them enough space to grow while keeping plenty of gravel visible.
After identifying the exact planting spots, cut a cross through the weed-suppressing membrane and fold back the edges.
Carefully take out the soil and place it in a container (so it doesn’t spill on the membrane), making just enough room for the plant. Unfold the edges to form a tight seal around the plant.

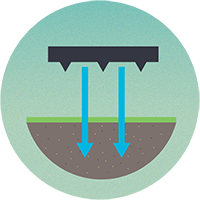
Step 6. Cover The Area With Gravel
You gave your garden a good start by adding compost to the soil. The edging and protective fabric are in place. And your favorite plants have settled.
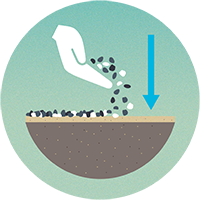
You’re now ready to add gravel!
What type of gravel to add? The answer depends on personal preference and how you plan to use the space. You can use crushed gravel if you anticipate light to moderate traffic over the area. If you don't expect any traffic over the area, you can increase your garden’s appeal with a layer of natural pebbles (although this is not sustainable).
But whatever type you choose, be generous. A layer that’s only 1.27cm deep does little to moderate the soil’s temperature and keep the moisture trapped in the ground.
Not to mention such a shallow gravel layer is prone to weed invasion!
Apply a 5.08cm- to 7.62cm-layer to ensure a functional, visually appealing, and weed-free gravel garden.
How To Construct A Gravel Path: Step-By-Step Guide
Gravel is one of the best path materials available especially for light to moderate foot traffic. It’s affordable, comfortable for walking (but not barefooted!), and easily able to take on many shapes.
However, gravel has limitations. It’s a terrible choice for steep slopes especially in areas with heavy rain. The raging rainwater can easily wash away the gravel path – along with the time and effort you invested in creating it. And without a border to contain the gravel particles, the pebbles can be easily shoved outside the path.
This guide will show you how to make your own gravel path over an even surface – and keep it in place with the proper preparatory steps.

Step 1. Mark The Path’s Location & Get Digging
Mark the path’s location using spray paint, essential for accurate digging. Alternatively, you can use a rope or water hose with the appropriate length. Once the path’s location is accurately marked, remove the soil (about 10.16cm deep) on that border.
Use a spade with a square blade for digging. It’s ideal for keeping the sides of the trench in a straight line and maintaining an even bottom. Put the excavated soil on a tarp so it’s easy to tidy up later.
Check the depth of the trench with a tape measure as you go digging to avoid accidentally creating slopes and depressions on the ground.
Step 2. Add Crushed Stones
You want a firm base for your path before laying down gravel, essential for structure and stability. You can use the soil as the base if it’s predominantly made of hard clay. For sandy soils, however, the addition of crushed stones is a must after smoothing and compacting the trench’s bottom.
Line the entire trench with a layer of crushed stone about 6.35cm deep. Use a rake to level the layer of crushed stone.

Step 3. Compress The Stone Layer
Start by lightly spraying water onto the stone layer with a garden hose to keep the dust in check and ease the compaction process. Next, use a square tamper to compress the layer, pounding the crushed stones until they turn to a smooth and stable layer.
Step 4. Cover The Stone Layer With Landscape Fabric
The addition of landscape fabric is a must to prevent weed invasion in your path while keeping the stone base in place.
Begin by rolling out a sheet of landscape fabric over the hard, stone base with the shiny side of the fabric facing up. If your path has curves (and it probably does), make relief cuts along the edges both inside and out.
You also want to ensure that the fabric doesn’t bunch up when you finally add gravel. So secure it on the ground with pins. The edging can also keep the fabric in place with its sharp spikes.
Step 5. Install The Edging
You can use various materials for the edging. But a thin metal edging is highly recommended: it’s crisp, clean, and gives your path a borderless look once the gravel layer in place.
To start, cut the thin metal with a metal-cutting blade or hacksaw, and curve it according to the shape of the path. Set the metal edging about 2.54cm higher than the path and anchor it with stakes.

Step 6. Time To Add Gravel!
With all the preparatory steps taken care of, pour gravel onto the path. The gravel layer should be about 1.27cm lower than the metal edging. Use a rake to evenly distribute gravel over the landscape fabric.
And that’s it! You can easily maintain the path’s fresh and even look by raking it once in a while, and adding more gravel when necessary.
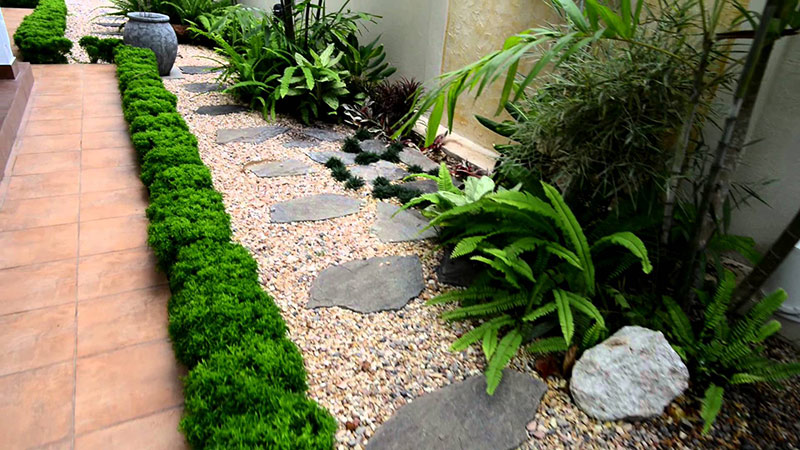
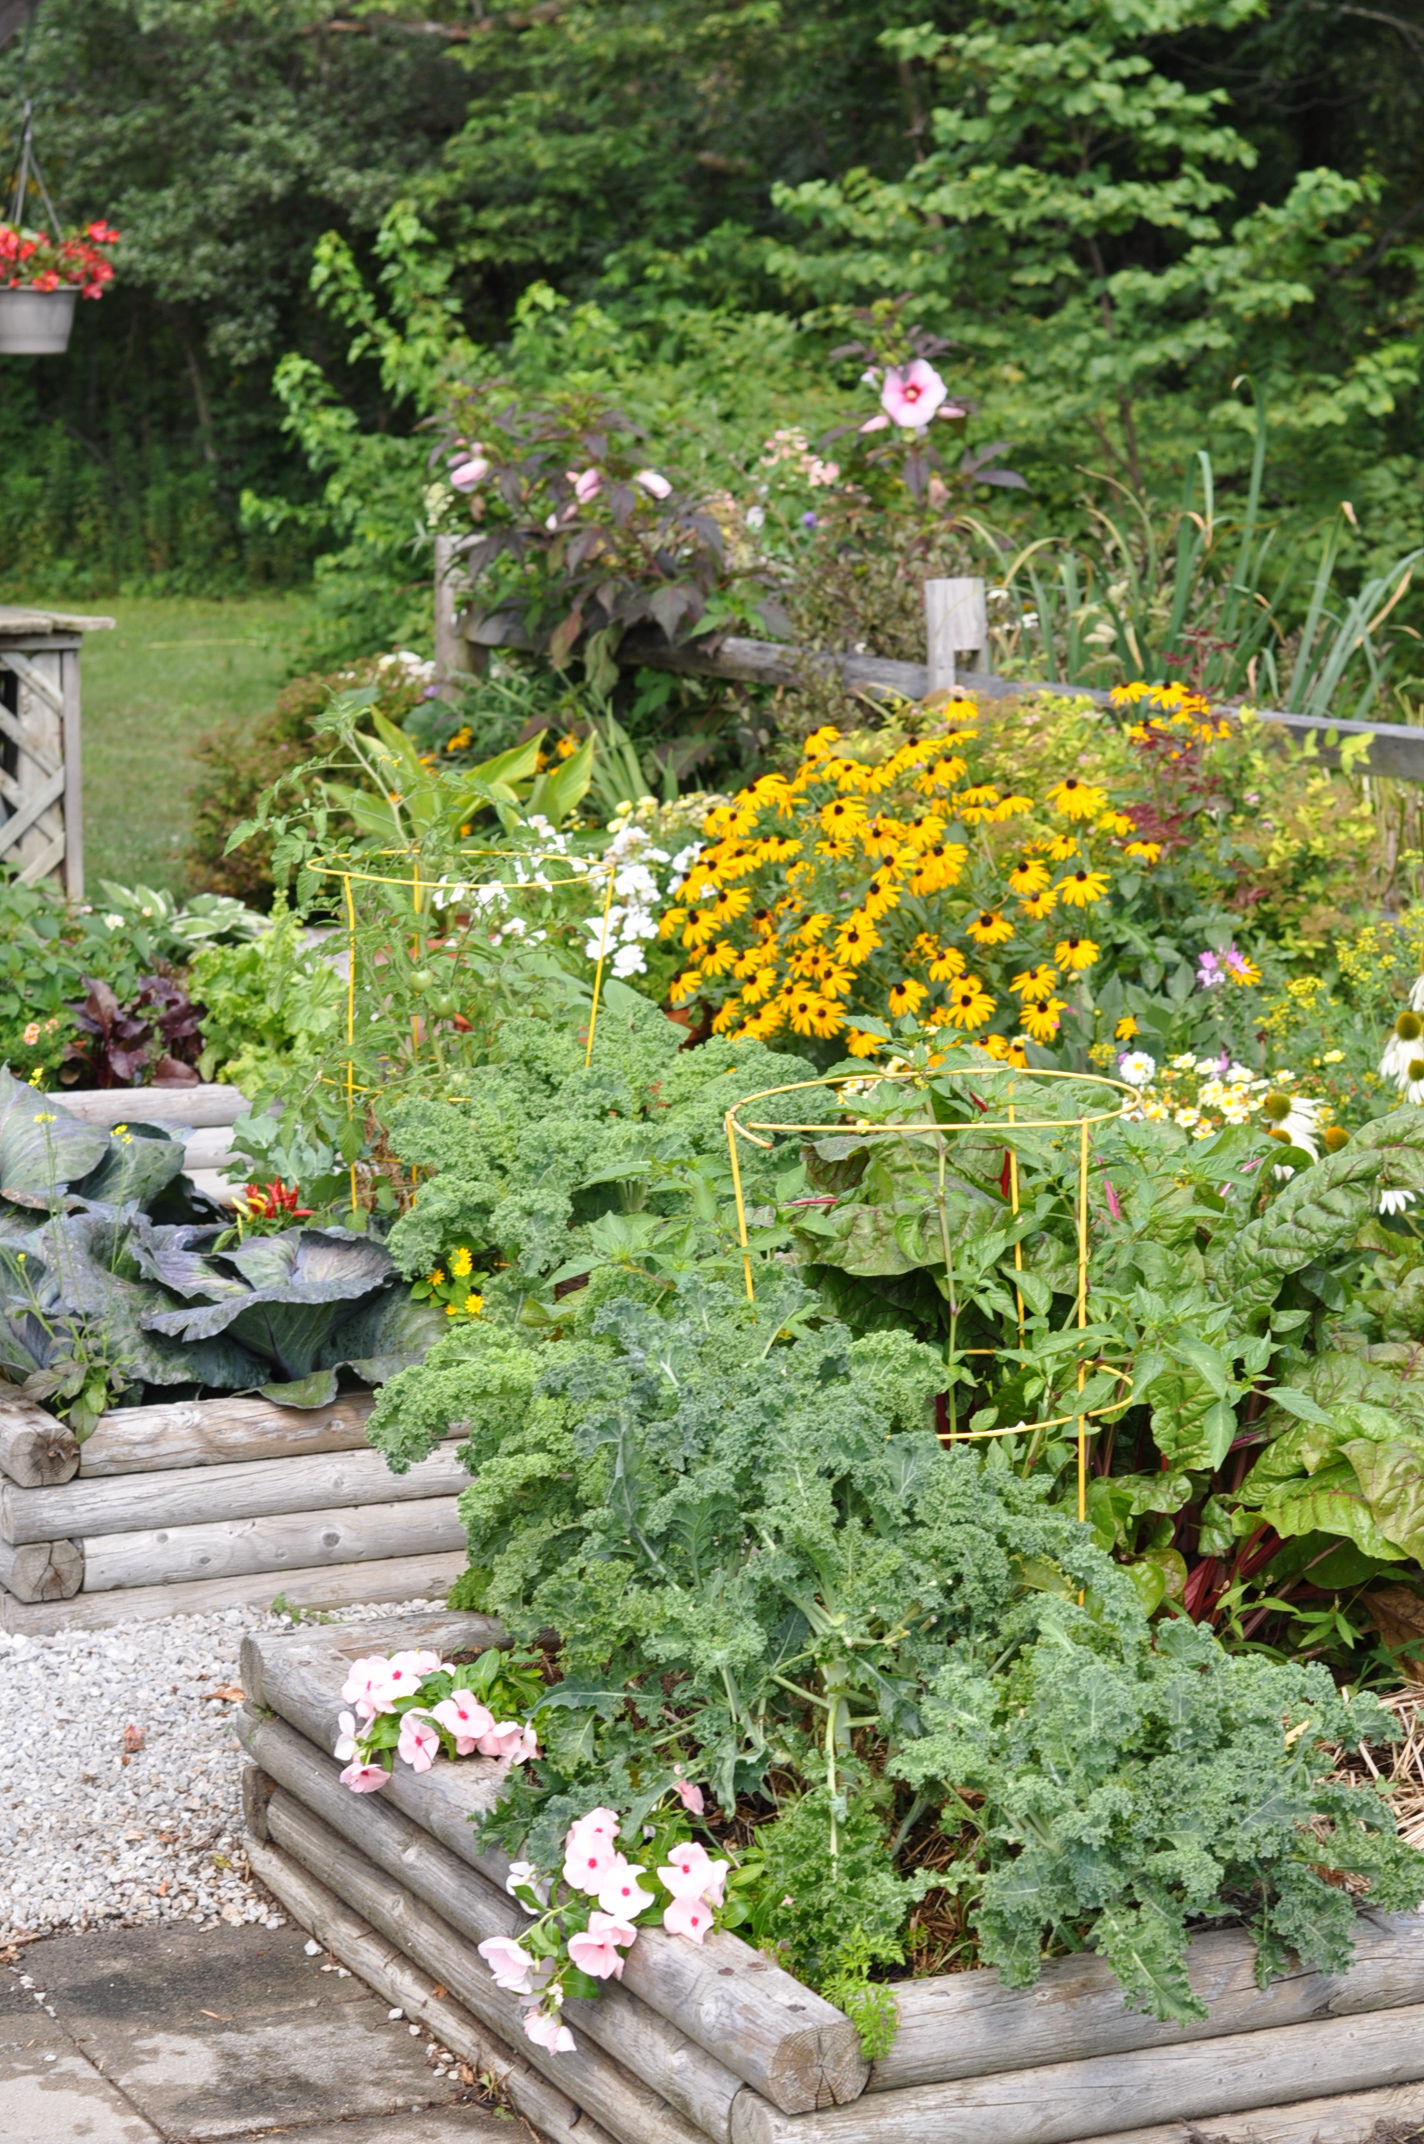
Other Design And Landscaping Ideas
New landscaping and design ideas are created every day, the trick is to convert these ideas into a reality. Take a look at these brilliant design ideas showing a perfect example of how to effectively use gravel in your garden, supplied by Brenda Haas: 


6. WRAP UP
Maybe not, but there’s no denying its versatility and massive benefits in the garden – which is why it’s become the favorite of landscape architects and garden designers around the globe.
Gravel, combined with the right protective fabric, can significantly cut down the need for weeding and maintenance – and can even completely replace the usual lawn! It keeps the soil cool and the roots safe from boiling temperatures.
As a paving material, it’s soft and comfortable underfoot and can endure punishment from foot and even vehicular traffic. And we’ve also looked at various design ideas that take advantage of gravel’s sensuous, organic feel to add more colour and life to otherwise dull spots in the garden.
But of course, the ideas we looked at are just the tip of the iceberg. And if you have gravel design ideas or tips you’d like to share, shoot us an email with your idea (include a picture for good measure), and we’d be happy to include it in this guide.